Darktable Workflow
I switched from Lightroom to Darktable mid-2019 after changing my laptop (I didn’t wanted to crack Lightroom again on it). It’s free, open source, handles RAW and incredibly powerful with a great community around.
(I especially recommand Bruce Williams Tutorials)
This document aims to reflect upon my previous Lightroom workflow and how I can adapt it to Darktable. → Living document ahead!
Lightroom Workflow (+tips & tricks)
- Import
- Copy as DNG (thanks Maxou ;)
- Add keywords (year, month, people, place, event_name…)
- Selection
- In the import folder:
- Quick review to delete the undesirable –> Hide the panel cmd ( US: shift-tab) + Dim the light (press L two times) + ‘Loupe view’ (E)
- Flag the rejected photo by pressing X (black flag in the top left corner)
- For similar photo you want to compare side by side press C or ‘survey view’ N, press P to flag them as pick and come back to it later (white flag in the top left corner)
- Press G to return to ‘grid view’, L for lights on, cmd+backspace to delete the rejected photo
- Collections
- Organization
- Year
- Month
- Event_Name
- For each Event_Name :
- Month
- Create 2 smart folder:
- WIP: flag + main keyword of the event
- Editing
- Rating
- Final: flag + main keyword of the event
- WIP: flag + main keyword of the event
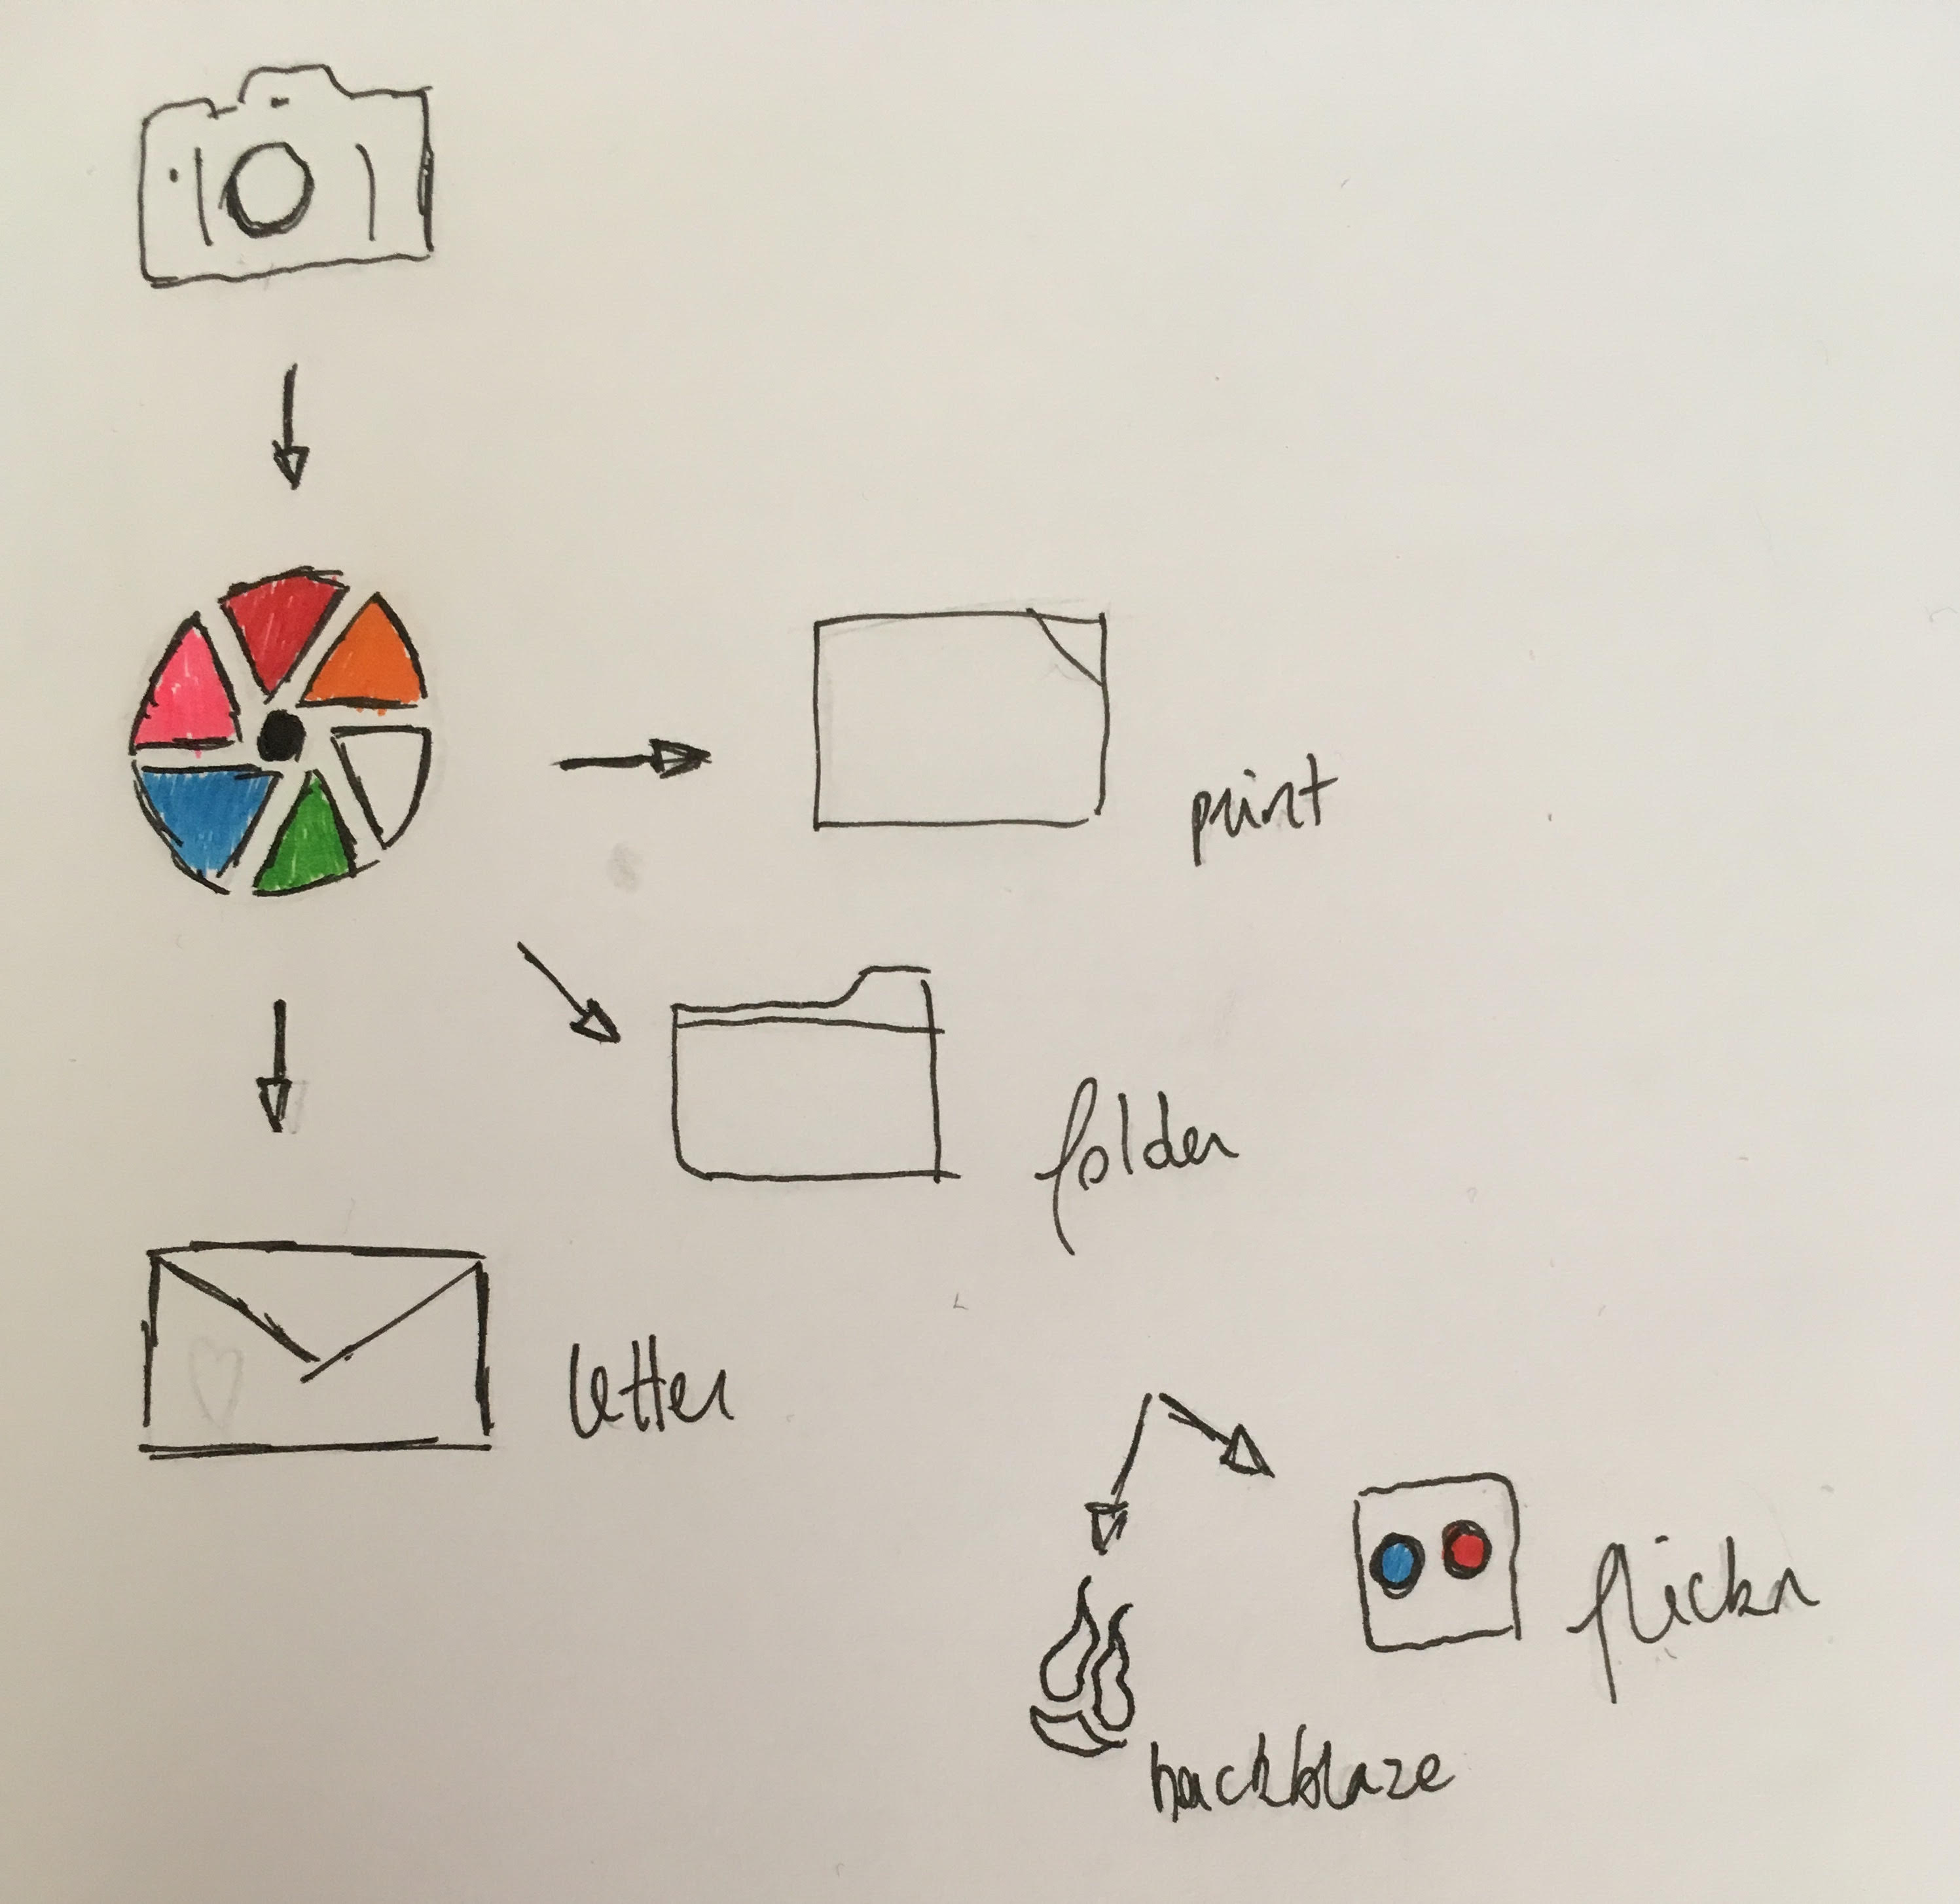
- Export (→ to improve)
- to flick / 500px
- to folder \year\month\event_name
Useful Shortcuts:
- Import = Ctrl-Shift-I
- Add keywords = Ctrl-K (puts cursor in the box so you may begin typing)
- Hide Panels and Filmstrip = Shift-Tab
- Cycle screen between dim, off, and on = L (light)
- Cycle view between thumbnail, fit to screen, and 1:1 = Enter
- Reject = X
- Pick = P
- Remove all flags = U
- Compare View = C
- Survey View = N
- Rate = 1-5
- Delete rejected photos = Ctrl-Backspace
- Rate = 1-5 number keys
- Create new collection = Ctrl-N
- Auto-Tone = Cmd+U
- Reset any adjustment slider = double-click on its label.
- Crop = R
- Rotate Crop Aspect Ratio = X
- Constrain Crop Aspect Ratio = A
- Spot Removal = Q
- Adjustment Brush = K
- Paste Settings from Previous = Ctrl-Alt-V
- Copy settings = Cmd+C
- Paste settings = Cmd+V
- Zoom = space
Darktable Workflow
(→ shortcuts lists)
- Import
- When importing from Canon 7D, it automatically creates a file under
Pictures > DarkTable > Date of the import - Once in Darktable, .xmp files are created
- Name the
film rollotherwiser it just appears withdate_noname (#)
- When importing from Canon 7D, it automatically creates a file under
- Selection
- Which images do I want to reject ?
- Control + mousewill to make images bigger
- Or → custom zoom:
efor bigger /gfor smaller (→ grid) Tabto remove menusfto get full screenrto reject photos- Rate
1to5for easier selection - Tagging: name of the person + place
- When selected for print, use tag
to_print